

How do you manage your workflow when creating course components? What’s your ethos? I’ve been thinking a lot about this recently, and I wanted to take some time to parse it all out in public. Let’s look at an example!
Recently, I’ve been working with subject-matter experts in cybersecurity and information management on a new asynchronous graduate certificate program. In one case, the SME has provided me with long (3 hour) PowerPoint lectures for a foundations course. The PPTs are well-structured, and the fact that they’re in video form with audio voiceover made them easy to work with, but the length of the material needed to be rethought for our new audience and current best practices stressing scaffolding, smaller learning objects, and interactivity. The course is structured in weekly modules, with lectures and interactive learning objects (constituting one or two of the 3-hour PPT videos per week), followed by an activity and a quiz; the course culminates in a final self-assessment project.
I wanted to develop content that would be somewhat evergreen (even given that the field is changing all the time), engaging to students, and mindful of their busy lives as adult learners–in addition to using a delivery form that is well-suited to the content. For instance, lecture portions that are predominantly definitions or term introductions are in the form of an accordion H5P interactive; those that are somewhat complex discussions or introductions of concepts or related concepts that tell a story are in video format; and those that are more complex in text (enhanced with images and interactives) or the “course presentation” format from H5P. These course presentations enable students to go back and read/listen/view more fully.
This post covers the H5P course presentation interactives, specifically. Here’s an example of one covering public key infrastructure, which in the broader lecture series is more complex and abstract:
Process Overview
I set up weekly meetings with the SME and my teammate, and early on in the process we talked through what we wanted to do and why, what the SME was interested in pursuing and less interested in, and how we’d communicate.
We use Microsoft Office, so it made sense to store everything in a SharePoint site with document folders devoted to each course, containing folders for each weekly module with assets, documents, and other materials. The SME uploaded the PPTs and the scripts he used (hallelujah!) for his recorded PPT videos. I also created a general overview document that we all edited to keep track of our progress–this is where I and the SME conversed between weekly meetings.
In general, a week of content design looks like this:
- meet with SME and discuss current work,
- provide links to draft material for feedback,
- revise material,
- repeat.
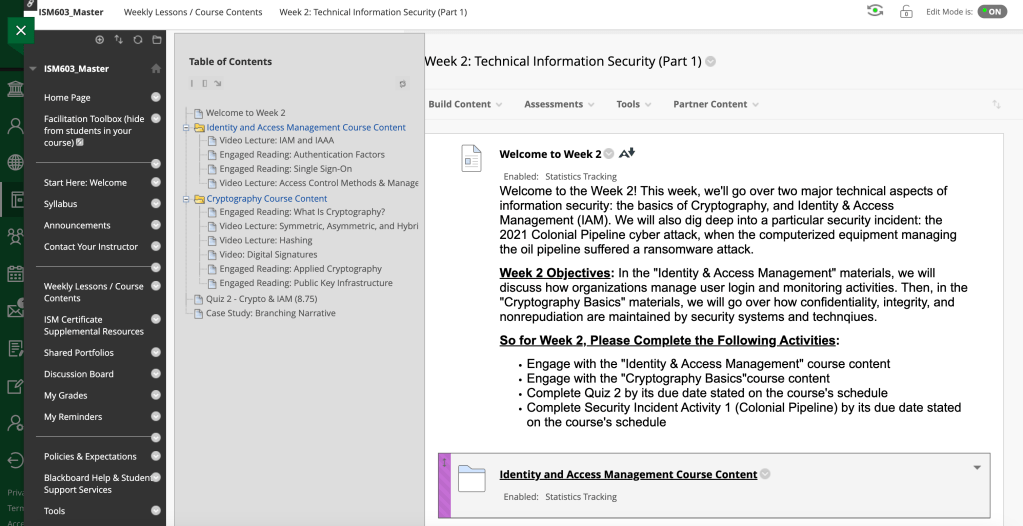
Once all the material has been approved by the SME, I post it to our LMS–in this case, Blackboard.
Editing the Scripts
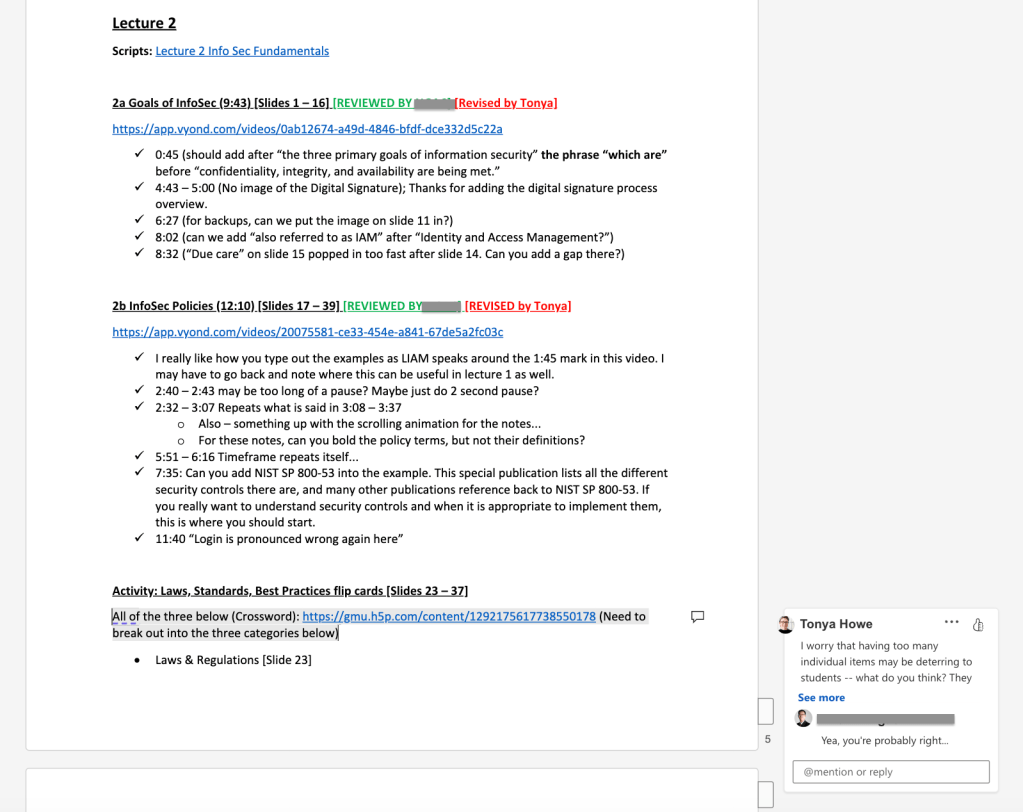
We wanted clear, high-quality voiceover, and the first step there was the script. The existing script needed some editing for concision, and also to incorporate updates; I edited the scripts using Word’s track changes feature, and invited the SME to accept, deny, or edit the revisions, a process that took a few weeks for a 40+ page script.
Generating the VO
Because the existing audio recording in the PPT was not as audible as we wanted it to be, we invited the SME to have his voice cloned using ElevenLabs. He agreed, but the clone was not effective–and because we knew the course was going to be taught by other faculty in the future, we got his permission to use a generic voice with very good (exceptional!) AI generated quality. It still needed edits, as you’ll see in the video below–I did those edits by re-generating the problematic parts and editing them in via Audacity–but we were able to get great voiceover in this way, using a process that takes the onus of technological construction off the SME.
Creating Illustrations
While I can create illustrations in Adobe, from a workflow perspective it’s much simpler to do so using Vyond. I’ve created both animated GIFs and static images in this way, which can be incorporated into text readings and interactives like the one above, in addition to many other kinds of objects.

This approach has the benefit of allowing us to generate a consistent look-and-feel outside of branding needs, and anyone in the team with access to Vyond can do it.
Other illustrations were extracted from the original PPT, where they were substantive rather than decorative. This is something I discussed with the SME during weekly meetings or via email.
Editing the H5P Interactive
Once I have the script, the VO, and the image assets in place, it’s time to create the interactive in H5P. For these interactives, I elected to use the course presentation type, which is generally slide-based but can incorporate audio and video (both URL and embedded), in addition to other useful content types like popup layers, links, multiple choice questions, and so on. It is also one of the H5P interactive formats that is fully accessible.
In the GIF below, I show my work in H5P adding a new–better–source for one slide that enhances the original script; instead of using an NPR article as a secondary source, I suggested a ZDNET article that was more technical and reinforced some of the adversarial nations content discussed earlier, as well. Editing H5P is pretty straightforward given its WYSIWYG editor.
Embedding the H5P in the LMS
Our current LMS is Blackboard, and H5P is deep-linked to it, so student work can be recorded and assessed. This image shows the final draft product embedded in the LMS. I don’t go over the details of embedding in Bb here, but you can see the course module structure in the navigation pane.

Getting Feedback and Revising
My work on the course is documented in a Word document that everyone on the team has access to–I indicate the draft objects for review, and the SME adds comments and suggestions for each. Then, during the week, I go through and update the audio, images, text, and other content as needed.
H5P objects update in-situ, though Vyond videos need to be exported to a content system for embed. So, I embed the draft H5P interactives directly in the LMS, and videos are simply linked from placeholders in the LMS modules. This allows us to see the structure of each module as it grows.
Accessibility and Persistence Issues
During the whole process, I’m especially attuned to brand coherence and accessibility–not only UDL accessibility for the students, but general accessibility for the SME and the Instructional Design & Technology team. We use Kaltura to store video objects–it creates a transcript/closed captioning, and also enables easy insertion of interactive elements, should that be something the SME would want later on. I’ve also developed objects in Storyline, but because ultimately the course belongs to the SME, and he will need to edit and manipulate the content, it needs to be in a form we both can work in easily. We store our Articulate projects and assets in a central SharePoint/OneDrive location. The SME has edit rights to all content in an H5P folder, which is also shared with the organization as a whole and all interactives are designated re-usable. This is important for persistent access, should someone leave or a license become suspended.
Storage and Naming Conventions
I work across operating systems, which makes storage and access even more challenging, so I have to be careful about my storage structure and naming conventions. Here’s a quick glimpse of how I engage with our storage structure, with a nod to how we name objects–many image objects created in, say, Vyond, are simple screenshots (PNG), because the editing process is simplified using Vyond and that’s more important to us than having exploded/layered Photoshop or Illustrator files. So I rename the screenshots to indicate content, and label the exported audio files (originals are also available) using numbers to indicate position–that makes assembling the assets in H5P, Camtasia, or Articulate much easier!
What does your process look like? Let’s learn from each other!
